
The battle simulator tool is for gym battles (not raids!). It’s designed to help you figure out which Pokemon are best against a specific gym defender/attacker. It is highly customizable and allows you to use attackers/defenders based on what you fill out, or to choose them from your Pokebox.
Stat Definitions
Overall
A rating that gives the Pokebattler recommendation for the current analysis. This rating weights various components differently based on empirical analysis of many different situations. In general, the formulas are weighted such that you should win the battle.
- Gym Battles – 40% Power, 40% Time to Win, 20% to Potions. Time to Win goal is 33s
- Tier 1 Raids – 33.3% Power, 66.7% Time to Win. Time to Win goal is 120s. Raid size 1
- Tier 2 Raids – 33.3% Power, 66.7% Time to Win. Time to Win goal is 180s. Raid size 1
- Tier 3 Raids – 33.3% Power, 66.7% Time to Win. Time to Win goal is 180s. Raid size 2
- Tier 4 Raids – 33.3% Power, 66.7% Time to Win. Time to Win goal is 180s. Raid size 6
- Tier 5 Raids – 50% Power, 50% Time to Win. Time to Win goal is 300s. Raid size 8
Power
A percent that represents how many times a Pokemon would kill another. 250% means it would kill it 2 times and then die halfway through the 3rd attempt. 75% means it died after only doing 75% of the target’s health.
Time to Win
Shows the amount of time it would take for the Pokemon to win. 2 seconds is added for each time the Pokemon fainted. Time to Win weighting is explained further in the article Since that article was written, the formula has gotten more advanced, with different Time to Win targets for each situation.
Win %
Percentage chance to win.
Potions
This tells you how much it takes to revive the health of your Pokemon after going after a raid boss. We use a basic, 20 HP potion as a baseline potion. Revives always heal half your health. We represent a revive as 5 potions (reason: because we say so). This is the actual equation used:
Deaths (5 + attacker HP/2/20) + last attacker damage taken/20 = Result. Remember that 5 we’re adding is the revive. So if a boss needs 50 potions, remember that 5 of that, multiplied by total number of deaths, is how many revives you’ll use. If 4 Pokemon die during the raid, then subtract 20 from your total needed potion count. And of course most people are using stronger potions to revive their Pokemon, but we only use basic potions for our stat. It still allows you to compare which Pokemon will need more potions.
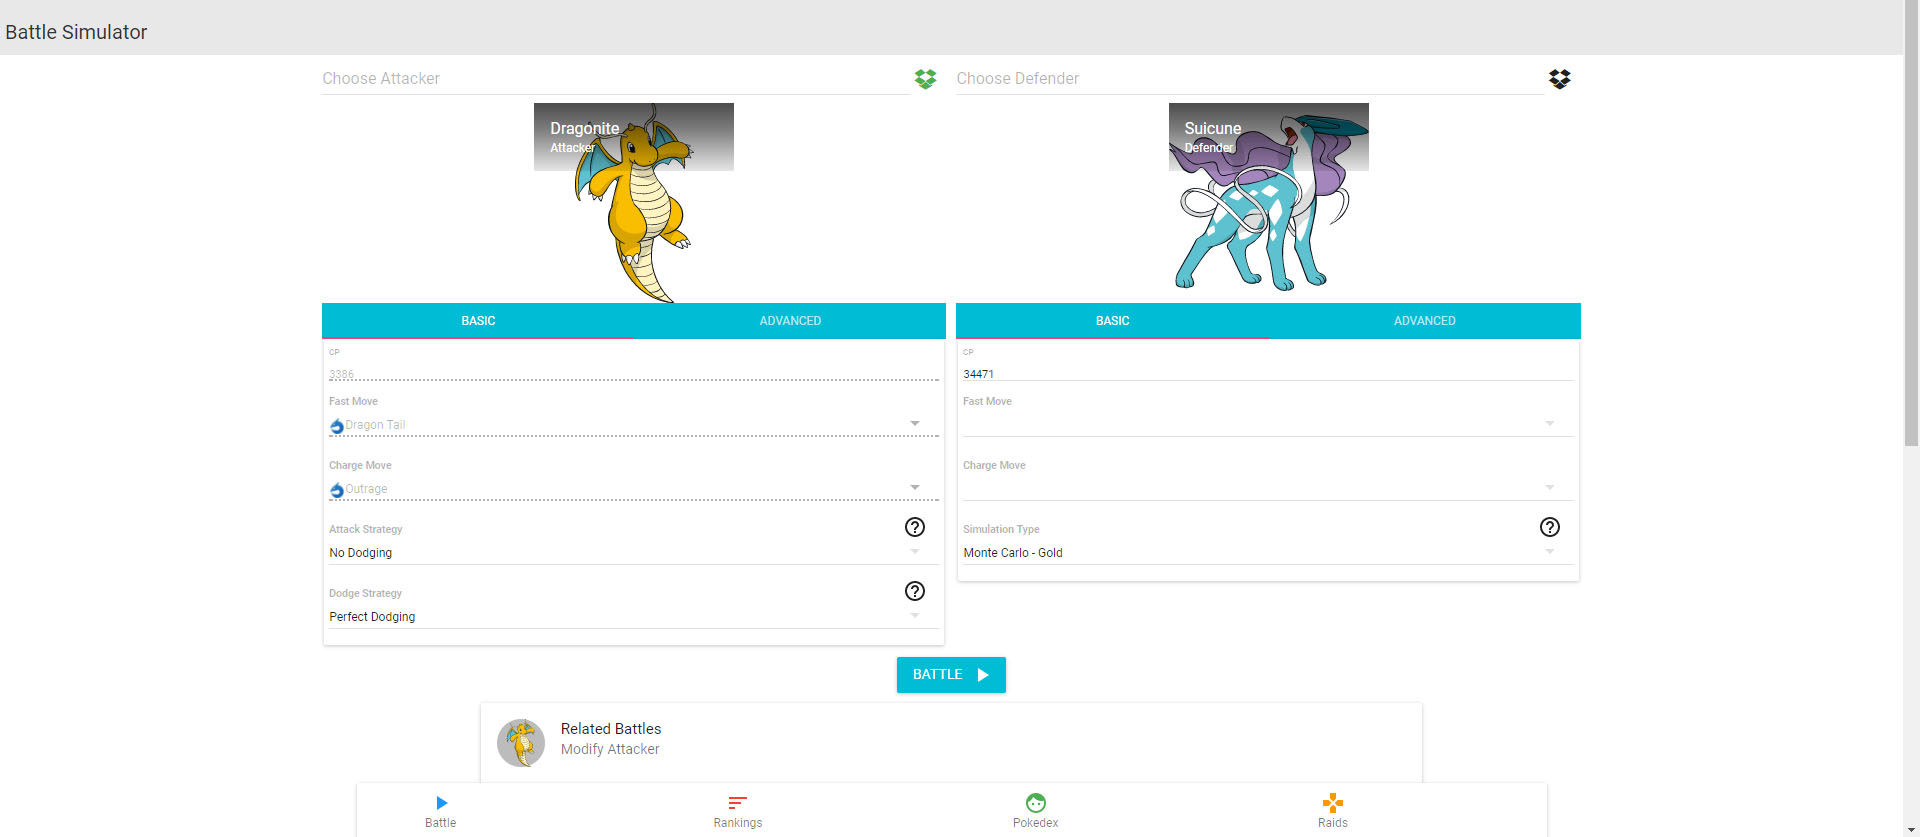
Attack Strategies
For raids and gym battle simulations, Pokebattler offers many different attack strategies depending on your playing style. The most popular for raid battles is no dodging, as dodging tends to make the clock run out too fast, and between bugs and lag, often doesn’t work anyways. Here are the definitions of each attack strategy:
- No Dodging – Use your fast attacks as quickly as possible until you can unleash your charge attack
- Only Fast Moves – Use your fast moves as quickly as possible.
- Dodge Specials – Use fast attacks until you can dodge their special, then use your charge attack.
- Dodge Specials PRO – Use fast and charge moves as soon as you can, but dodge their charge attack.
- Dodge All – Use fast attacks and dodge their moves until you can dodge their charge attack, then use your charge attack.
- Dodge All PRO – Use fast attacks and charge attacks in between dodging all their moves.
- Dodge All Weave –This is the scaredy cat of pokebattler dodge simulations. Dodge All Weave will always assume the worst. It’ll always assume the move will come at the shortest possible delay — technically speaking it always assumes a “Defender Delay” of 1.5s. It wants to guarantee it can dodge the next attack. It is something that can be reproduced by real humans playing the game.
Dodge Strategies
We added dodge strategies as a way to fine-tune the attack strategy algorithm to give more even realistic results. They are used to account for human error, bugs, and other variations. For example, when you choose “dodge all’ as your strategy, that assumes you dodge every attack. However, that’s basically impossible. If you then select “realistic dodging’ to your dodge all, you will get a more realistic result that accounts for human error, game bugs, and delays, etc. Dodge strategies aren’t useful if you select the no dodging attack strategy since you aren’t dodging at all. These are the definitions for each dodge strategy.
- Perfect Dodging – Tries to dodge 100% of the time. This dodge strategy will almost never miss a dodge. You may still get hit in certain unavoidable situations such as when using a special move.
- Realistic Dodging – Attempts to simulate a realistic human dodger. Dodges vary from 50% success rate for a fast 1-second move to 90% success rate for a slow 3.5-second move. In addition, if the attacker is using either super effective or not effective attacks, there is an additional 25% penalty to dodging, dropping the success rate to 37.5% to 67.5%. Finally, a small bonus for faster attacker moves is added based on how much faster the move is than the dodge flash.
- Realistic Dodging Pro – Attempts to simulate a realistic experienced human dodger. Dodges vary from 70% success rate for a fast 1-second move to 90% success rate for a slow 3.5-second move. In addition, if the attacker is using either super effective or not effective attacks, there is an additional 10% penalty to dodging, dropping the success rate to 63.0% to 81.0%. Finally, a small bonus for faster attack moves is added based on how much faster the move is than the dodge flash.
- 25% Dodging – Chooses to dodge 25% of the time.
- 50% Dodging – Chooses to dodge 50% of the time.
- 75% Dodging – Chooses to dodge 75% of the time.
- 90% Dodging – Chooses to dodge 90% of the time.
Combat Log
See every move second by second in the simulation. Odds are this isn’t exactly how your fight will go, but it’s our closest guess based on all the math you just saw.
Using your Own Pokemon from your Pokebox
To easily choose your own Pokemon for battle simulations instead of having to fill out each attack each time, sign up for our Pokebox feature. If you already have it, make sure you select ‘switch to My Pokebox’ on the right side of the screen to see your own Pokemon as the results. You’ll need to make sure you keep your Pokebox accurate and updated for perfect results. Learn more about Pokebox here.
Recent Comments